


Although removing window tint can be challenging, with the correct tools and methods, you can do it yourself. This article will show you how to remove window tint properly and quickly, whether your tint has faded, bubbled, or you just want to replace it.
Why Remove Window Tint?
With time, window tint might fade, resulting in ugly bubbling, poor vision linked with UV damage, or a purplish hue. You might also wish natural light or another tint colour if you are purchasing an old car or moving into a new house with tinted windows. Apart from enhancing appearance, removing damaged or old window tint clarifies your windows.
Tools and Materials You’ll Need
Before starting the removal process, get ready the tools and materials you will need:
- Steamer or Hair Dryer: Soften the glue using a hair dryer or steamer.
- Razor Blade or Utility Knife: Use a utility knife or razor blade to get the colour off the glass.
- Spray Bottle: One can fill a spray bottle with either vinegar and water mix or washing water.
- Microfiber Cloths: Wiping windows following tint removal is best done using microfiber towels.
- Glass Cleaner: Once any last tint diminishes, remove it.
- Plastic Scraper: Optional plastic scraper to adhesive off without damaging the glass.
Methods to Remove Window Tint
Depending on the tools you have at hand and the kind of tint you applied, there are numerous ways to remove window tint. The most effective techniques on the ones below.
1. Steamer Method
Particularly for large or vehicle windows, the steamer approach is among the most often used and successful techniques to remove window tint.
Step-by-Step Instructions:
- Heat the Tint: Heat the tinted window’s corner for roughly one minute using the steamer. This softens the glue and lets the tint be removed faster.
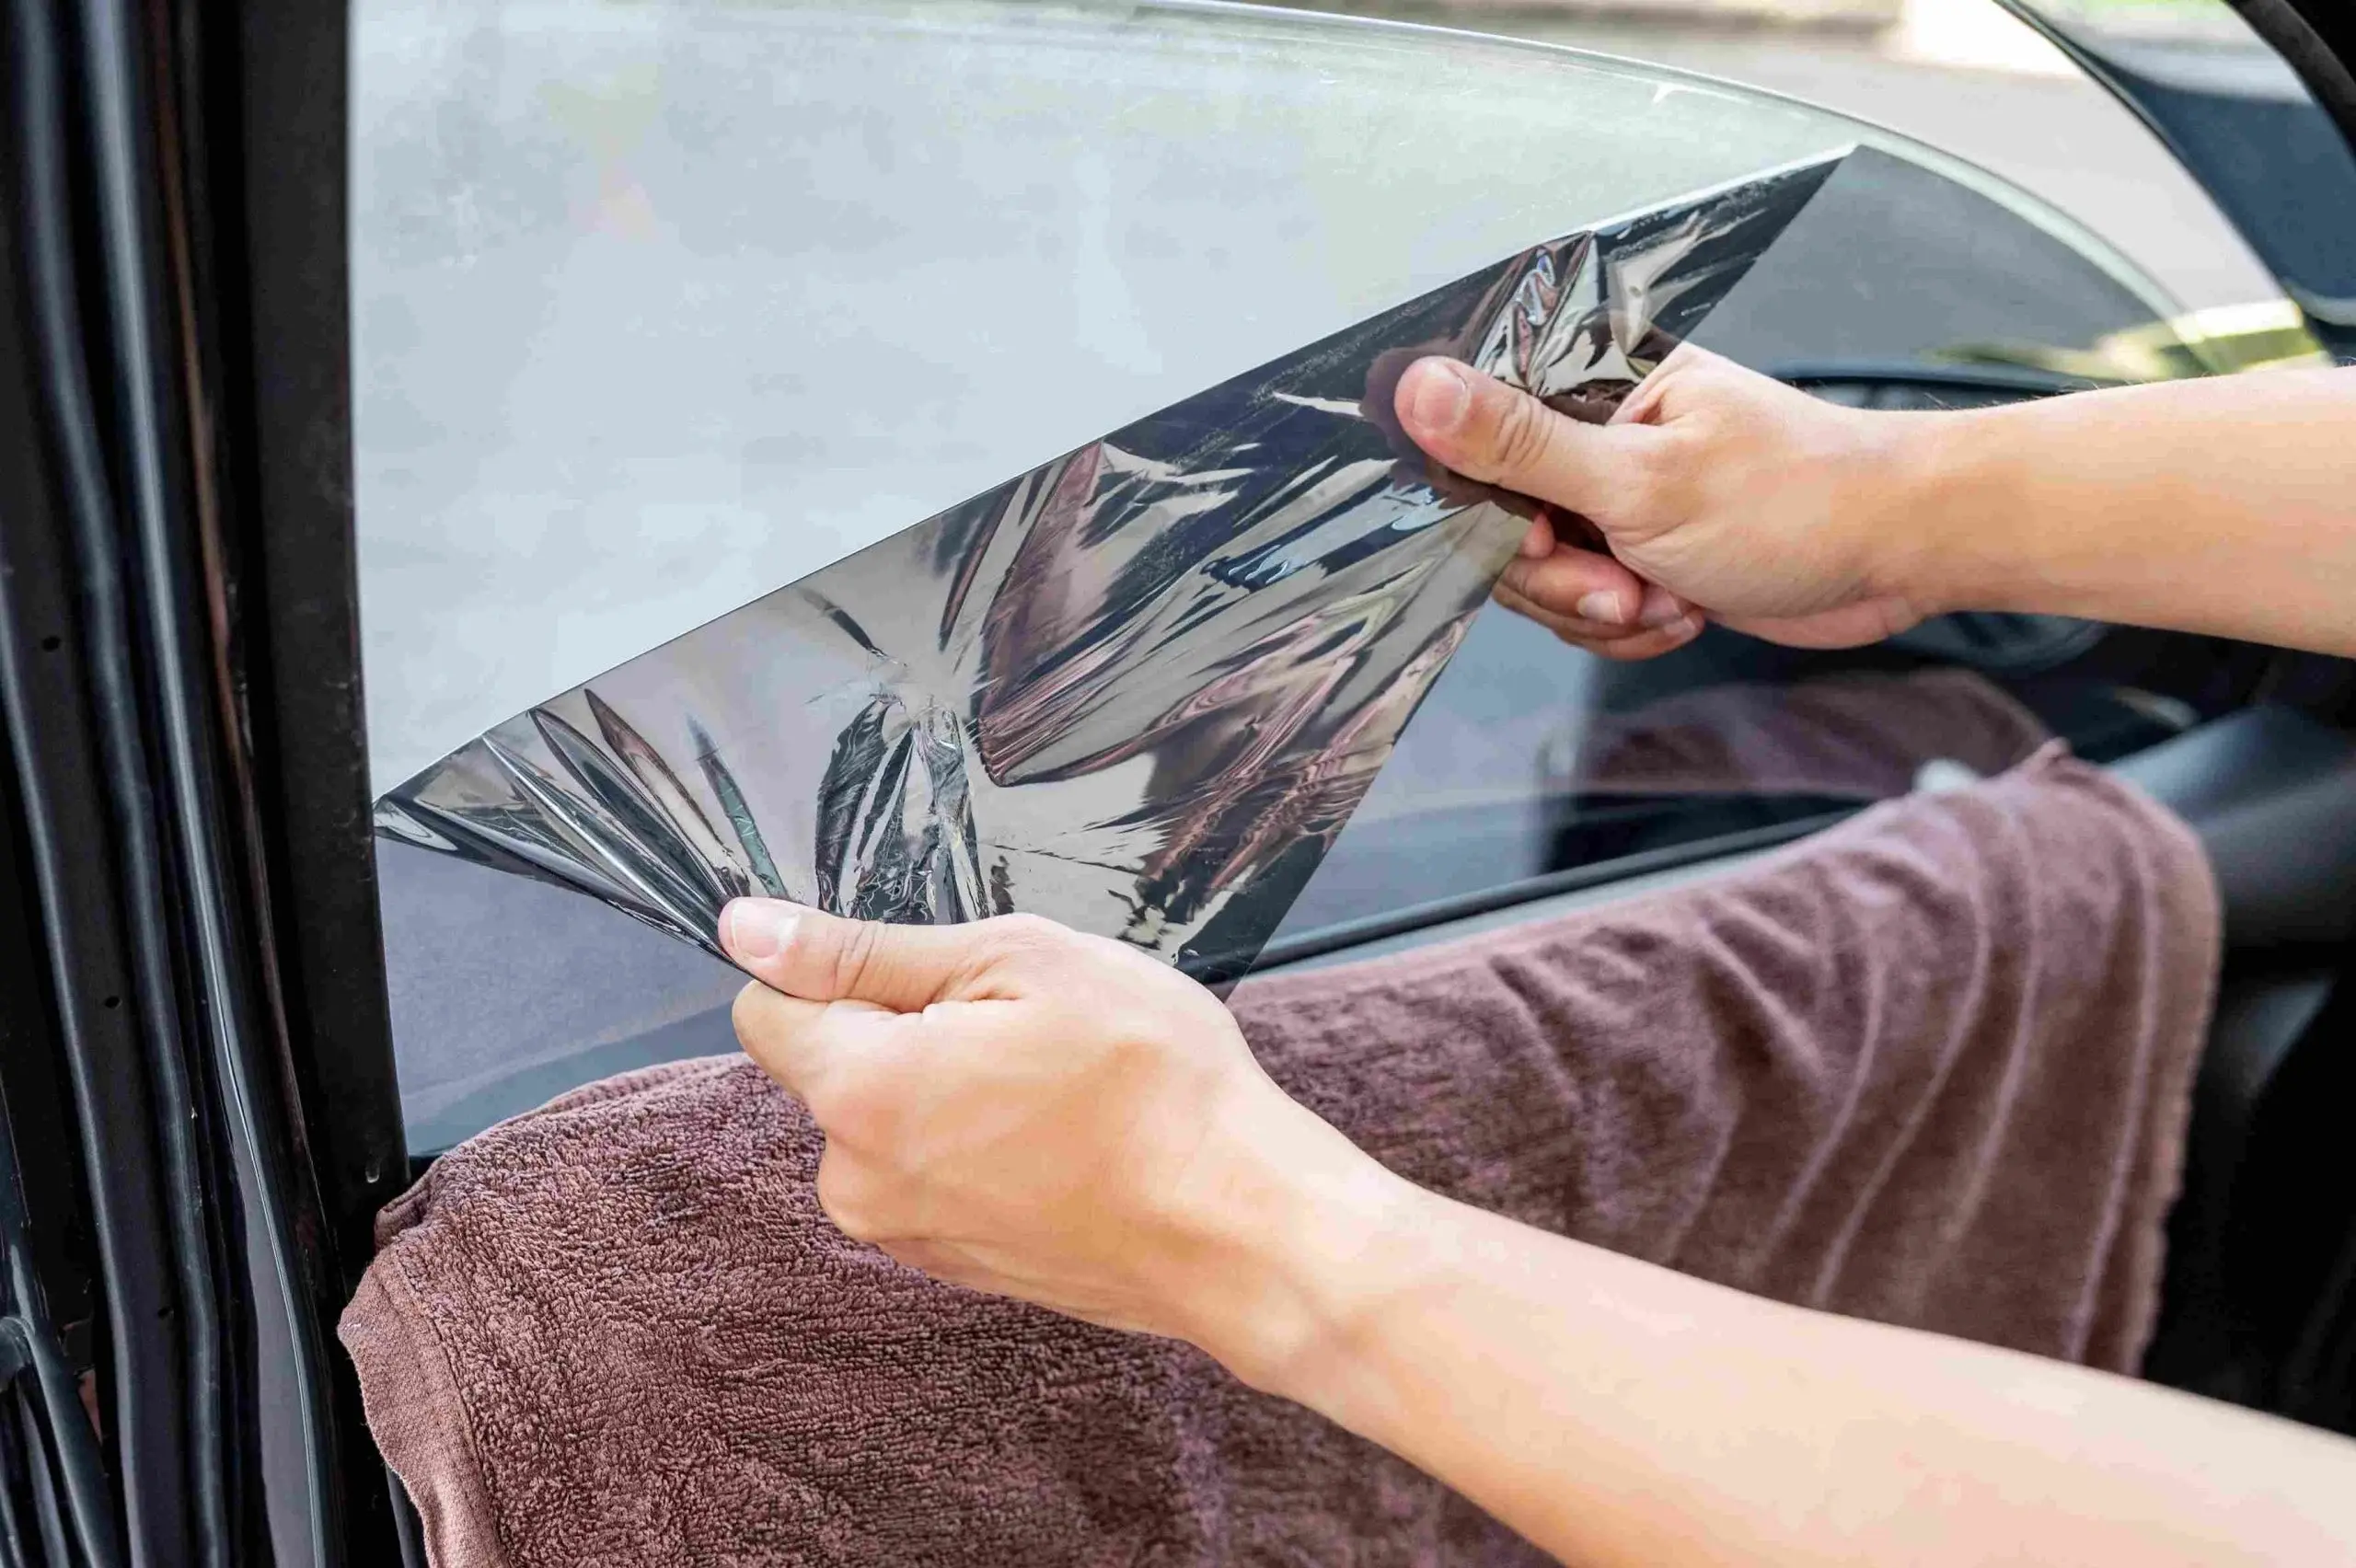
- Start Peeling: After the tint has heated, raise a film corner with a razor knife. Steam softens the glue; peel the tint gently away from the glass.
- Remove Residue: After the tint is off, some adhesive can still be on the glass. Use a razor blade or plastic scraper to cut any remnants after soapy water has been sprayed over the window. Using a microfiber towel, wipe straight forwardly.
2. Hair Dryer Method
If you not have a steamer, a hair drier will perform equally nicely. Smaller windows or those without steaming access greatly benefit from this approach.
Step-by-Step Instructions:
- Heat the Tint: Holding the hair drier a few centimetres from the window, set its highest heat level. Working on one corner, heat the tint for thirty seconds to a minute.
- Peel Off the Tint: Once the adhesive softens, raise a tint corner with a razor blade. Peel the tint gently, adding more heat as needed.
- Clean the Glass: Clean the glass with soapy water once the tint has been taken off, then razor-blade any remaining glue. Finish by microfiber cloth cleaning of the window.
3. Soap and Scrape Method
Especially for flat glass surfaces like house windows, this is a great substitute if you lack any heat equipment.
Step-by-Step Instructions:
- Spray the Window: Dust the window with Either vinegar and water or soapy water should be filling a spray bottle. To completely soak the tint film, liberally mist the window.
- Start Scraping: Cut the tint film off the glass using a razor blade. Starting in a corner, work your way across the glass adding extra solution as necessary to keep the film wet.
- Remove Adhesive Residue: Once the tint has been eliminated, once more spray the glass; next, cut away any last stickiness with a razor blade. Wipe the window thoroughly with a microfiber towel.
Tips for Successful Tint Removal
- Work Slowly: Rushing the process could produce torn tint film and unused glue. If at all feasible, slow down to completely eradicate the tint in one run.
- Avoid Damaging the Glass: Always use a razor blade or scraper gently to prevent dragging the glass. Should you be worried about possible damage, a plastic scraper is a better choice.
- Clean Thoroughly: Once the tint has been removed, take great care to completely clean the glass to eliminate any adhesive residue that might draw dirt and trash.
When to Seek Professional Help
While most people find removing window tint to be a manageable task, sometimes it might be wise to consult a professional:
- Complex or Curved Windows: Working on complex or curved windows can be challenging; inappropriate removal could compromise the glass or the defroster lines.
- Stubborn Tint: If the tint is old and fragile, or if previous attempts at removal have failed, a specialist can ensure the job is done correctly.
Conclusion
Although removing window tint might seem difficult, with the right approach, you can do it yourself. Using these techniques will help you to properly remove window tint from your automobile or house, therefore enhancing its look. Just be cool, pick the right instruments, and enjoy the results of a job well done. For Australians who wish to tackle this do-it-yourself activity, these guidelines will guarantee that their windows are clear and clean in no time.