


Hybrid flooring is becoming increasingly popular in Australian homes because of its durability, water resistance, and stylish appearance. If you want to install hybrid flooring yourself, this detailed guide will walk you through each step of the process. Learning how to install hybrid flooring can seem daunting, but professional-looking results are achievable with the right tools and a little patience.
What is Hybrid Flooring?
Hybrid flooring combines the best features of both materials, including laminate and vinyl. Its several layers include an underlay for comfort and sound absorption, a rigid core for stability, and a top wear layer for protection.
Benefits of Hybrid Flooring
- Durability: Hybrid flooring has the advantage of being stain, dent, and scratch resistant.
- Water Resistance: It is water resistant and ideal for wet environments such as bathrooms and kitchens.
- Easy Maintenance: Simple maintenance and cleaning.
- Stylish designs: They complement any décor and come in a variety of colours and textures.
Materials and Tools Required
Before you begin, gather the goods and tools you will need.
- Planks of hybrid flooring
- If not yet connected, underlay
- Measuring tape
- Ruler and pencil
- Utility Knife
- Pry bar
- Melet
- Spacers
- Pull bar
- Tapping block
- Adhesive (if required)
- Moisture barrier (for concrete subfloors)
- Saw (mitre or jigsaw)
Step-by-Step Installation Guide
1. Prepare the Subfloor
A good installation requires that the subfloor be adequately prepared. Make sure the subfloor is level, dry, and clean.
Remove Old Flooring: Take out and dispose of any existing flooring.
Clean the Subfloor: To remove any dirt and debris, sweep and vacuum the subfloor.
Check for Moisture: If you’re laying concrete, use a moisture barrier to prevent moisture issues.
2. Acclimate the Flooring
Before installation, allow the hybrid flooring to acclimatise to the room’s humidity and temperature for at least 48 hours. This prevents further growth or contraction.
3. Plan the Layout
Plan your arrangement to ensure a seamless and visually appealing end.
- Measure the Room: Measure the length and breadth of the room to estimate the number of boards required.
- Choose Your Starting Point: Typically, this is the longest wall in the room, running parallel to the dominant light source.
- Stagger the Planks: To avoid a regular pattern, try to stagger the boards’ end joints by at least 30 cm.
4. Install the Underlay
If the hybrid flooring does not have an underlay, install one separately.
Roll Out the Underlay: Roll out the underlay in the same way you wish to install the flooring.
Trim to Fit: Trim the underlay to suit the space, making sure there are no overlaps or gaps, with a utility knife.
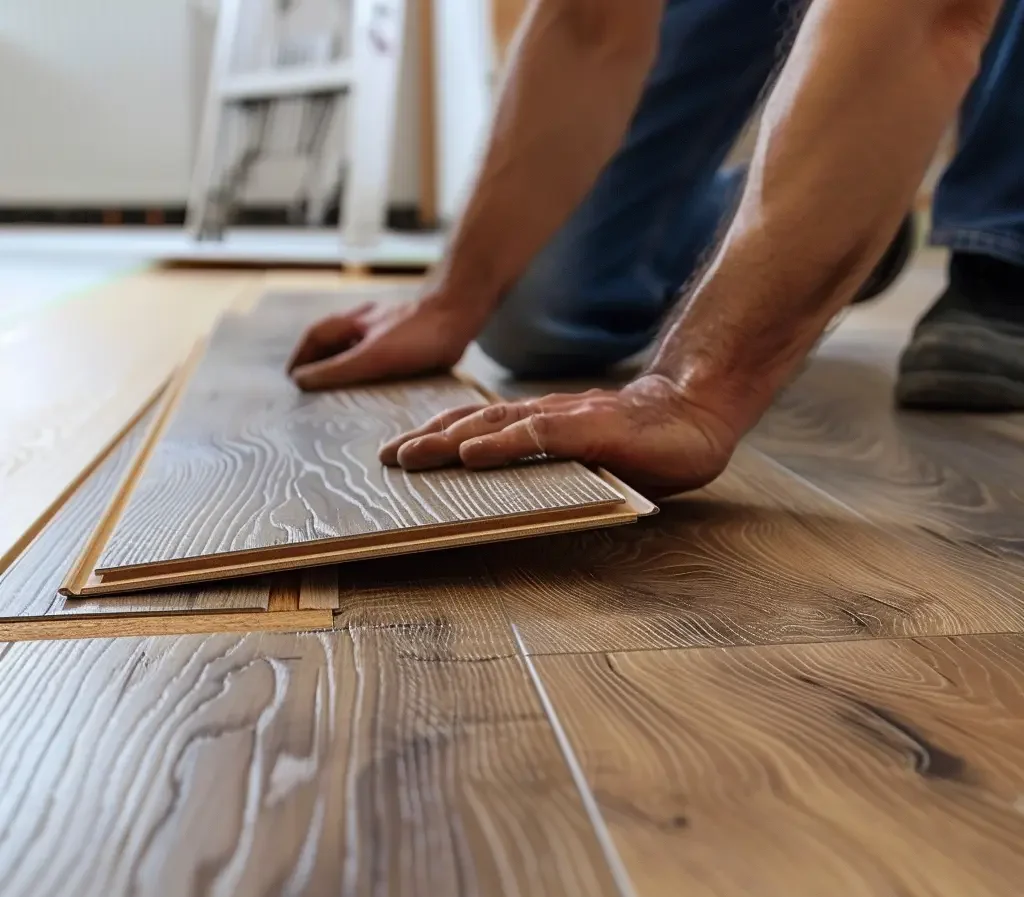
5. Lay the First Row
The entire installation is dependent on the first row.
- Place Spacers: Spacers between the wall and the planks can be used to maintain an expansion gap (often 10-15 mm).
- Layer the planks: Face the wall using the tongue side of the first board. Press down until it latches, then tilt the next board into position.
6. Continue Laying Planks
Proceed with laying the planks, ensuring they lock tightly together.
- Use a Tapping Block: Use a tapping block and mallet to ensure the boards fit together tightly.
- Cutting Planks: Measure and cut the last plank of each row to fit, using a saw. Use the offcut to start the next row to maintain the staggered pattern.
7. Install the Last Row
Due to limited space, fitting the last row can be challenging.
- Measure and Cut: Measure the width of the last row and cut the planks to fit, ensuring they leave an expansion gap.
- Use a Pull Bar: Use a pull bar to click the last planks into place.
8 Complete the installation
Once all boards are in place, remove the spacers and cover the expansion spaces with molding or trim.
- Install Trim: Attach the trim or skirting boards to the walls, not the flooring, to allow for natural expansion and contraction.
- Clean Up: Remove dust and debris from the floor with a damp mop.
Maintenance Tips for Hybrid Flooring
- Regular Cleaning: Sweep or vacuum the floor frequently to prevent grit and dirt buildup.
- Avoid Excess Water: To avoid excess water, use a damp mop instead of a wet one.
- Protect from Furniture: Felt patches beneath furniture legs can help prevent scratching.
Read also: How to Clean Hybrid Flooring
Conclusion
Installing hybrid flooring is a manageable DIY project that can significantly enhance the look and functionality of your home. By following these steps and taking your time, you can achieve a professional finish that will last for years. Enjoy your new hybrid flooring and the many benefits it brings to your Australian home!